A.
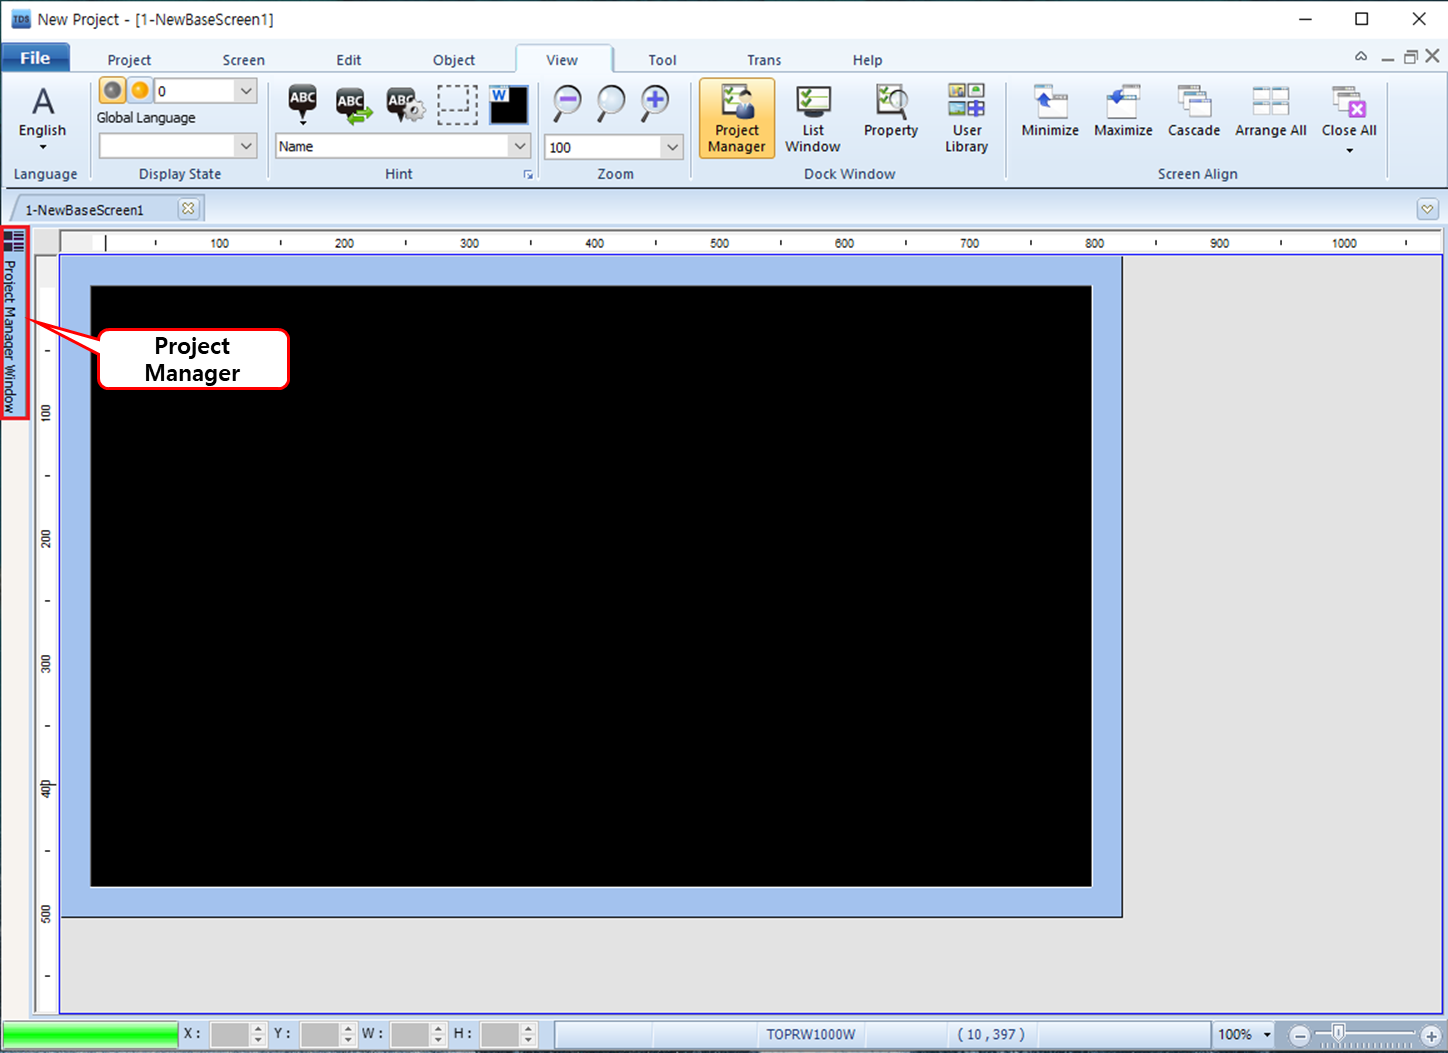
In TOP Design Studio, windows like the Project Manager are referred to as Docking Windows.
You can find them by clicking [View] in the top menu of the TOP Design Studio interface.
You can find them by clicking [View] in the top menu of the TOP Design Studio interface.
The available Docking Windows include:
- Project Manager
- List Window
- Property
- User Library
- Project Manager
- List Window
- Property
- User Library
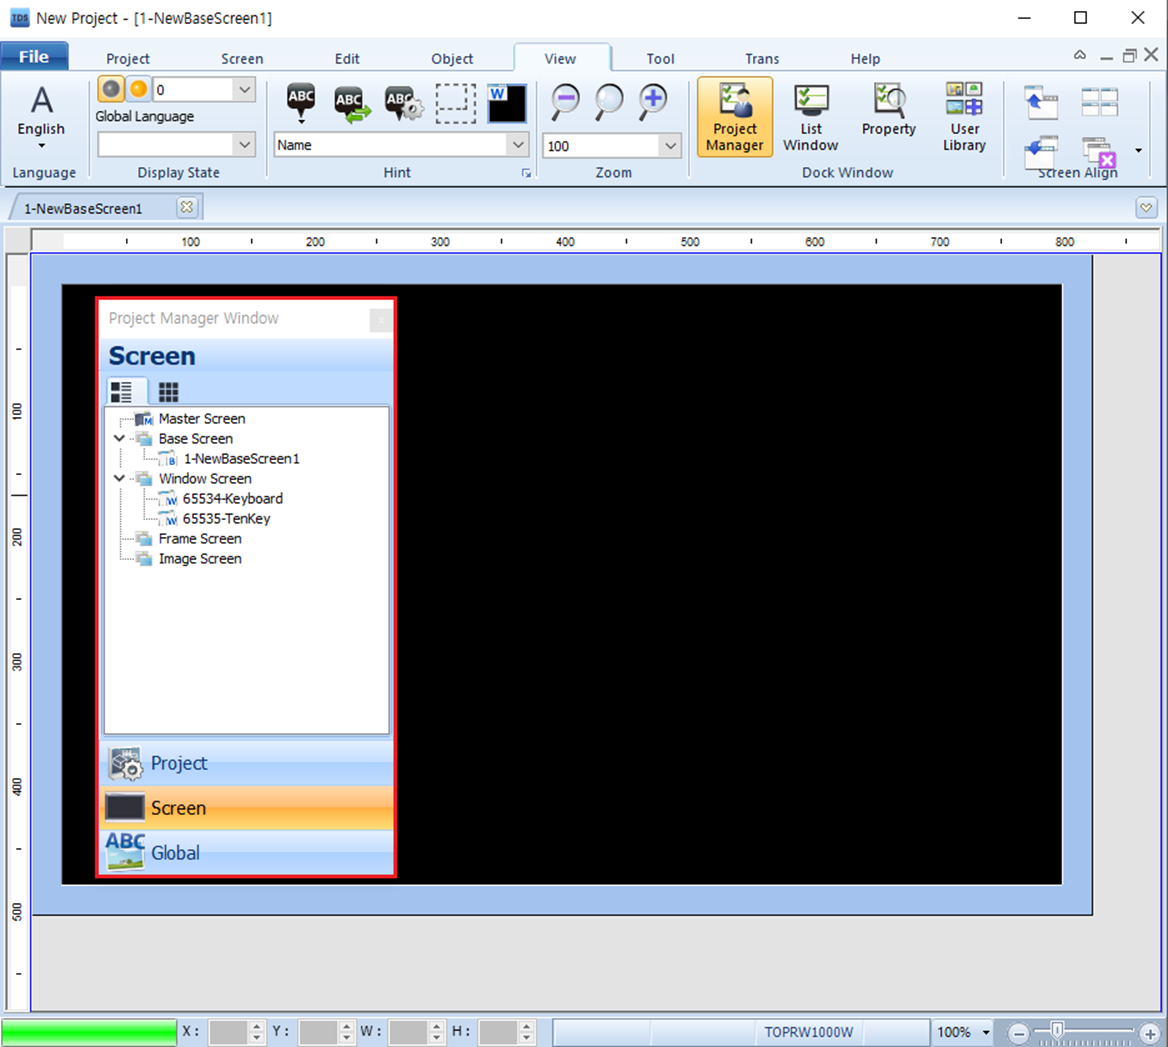
By default, when TOP Design Studio is installed:
- [Project Manager] and [List] appear on the left side,
- [Property] and [User Library] appear on the right side.
- [Project Manager] and [List] appear on the left side,
- [Property] and [User Library] appear on the right side.
You can customize the layout by showing/hiding specific windows or changing their docked positions.
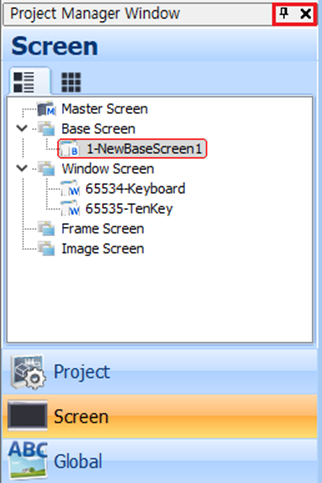
* Understanding the Docking Window Controls
In the top-right corner of each Docking Window, you’ll find two buttons:
- [X] : Closes the window.
- [Pin] : Toggles between docked (pinned) and auto-hide modes.
If you accidentally close the [Project Manager] window by clicking [X], you can bring it back by going to:
[View] - [Docking Window] - [Project Manager]
[View] - [Docking Window] - [Project Manager]
However, the window may reappear in a floating state rather than docked to the left.
* How to Dock the Project Manager to the Left
To dock the Project Manager window to the left:
1. Click and hold the title bar of the Project Manager window.
2. Drag it all the way to the left edge of the TOP Design Studio screen.
3. When a docking guide appears, release the mouse button to dock the window.
To dock the Project Manager window to the left:
1. Click and hold the title bar of the Project Manager window.
2. Drag it all the way to the left edge of the TOP Design Studio screen.
3. When a docking guide appears, release the mouse button to dock the window.
Note: If you don’t drag it fully to the edge, the docking will not work properly.
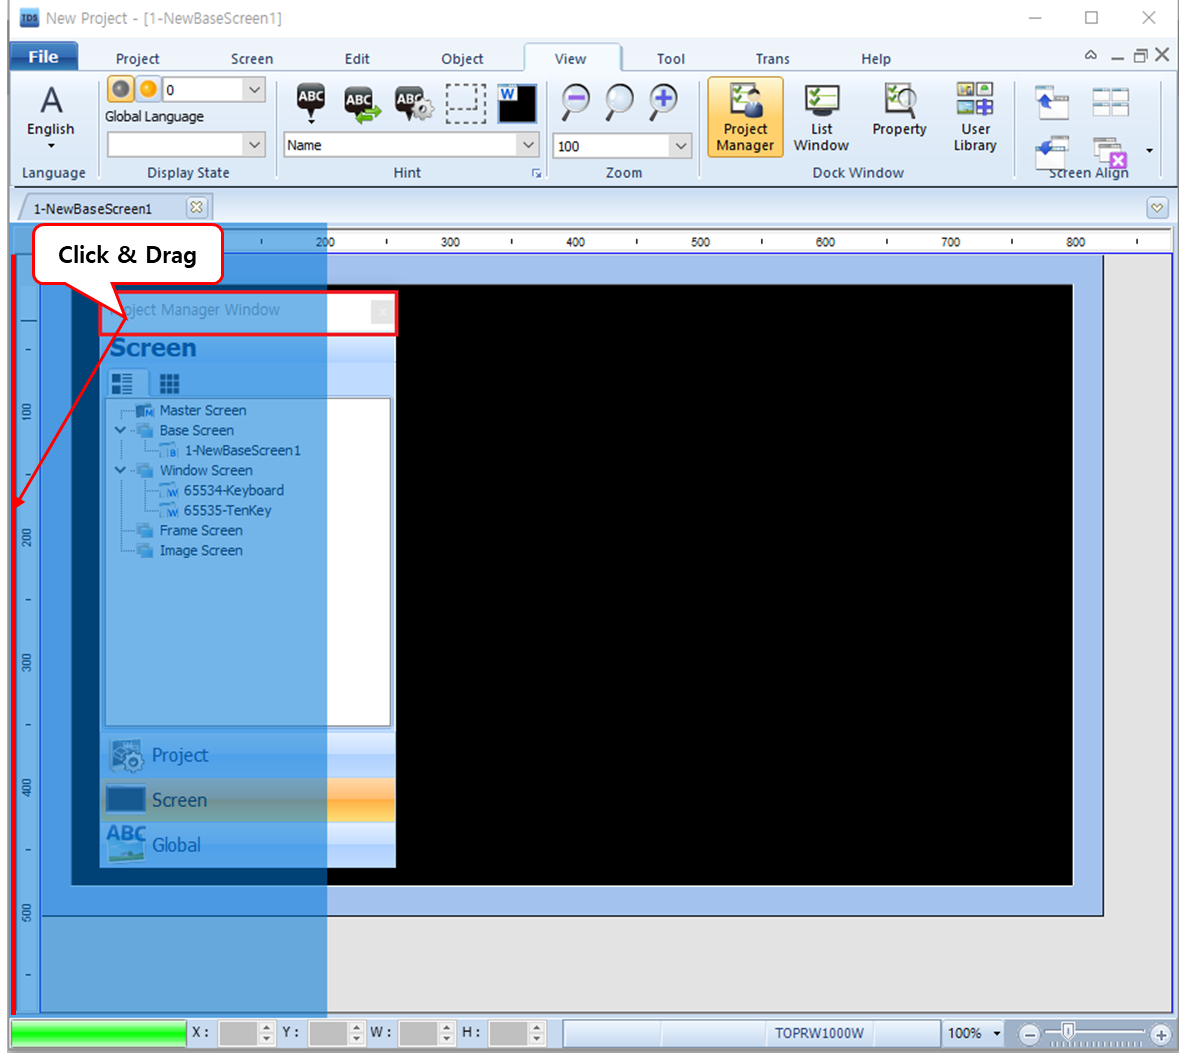
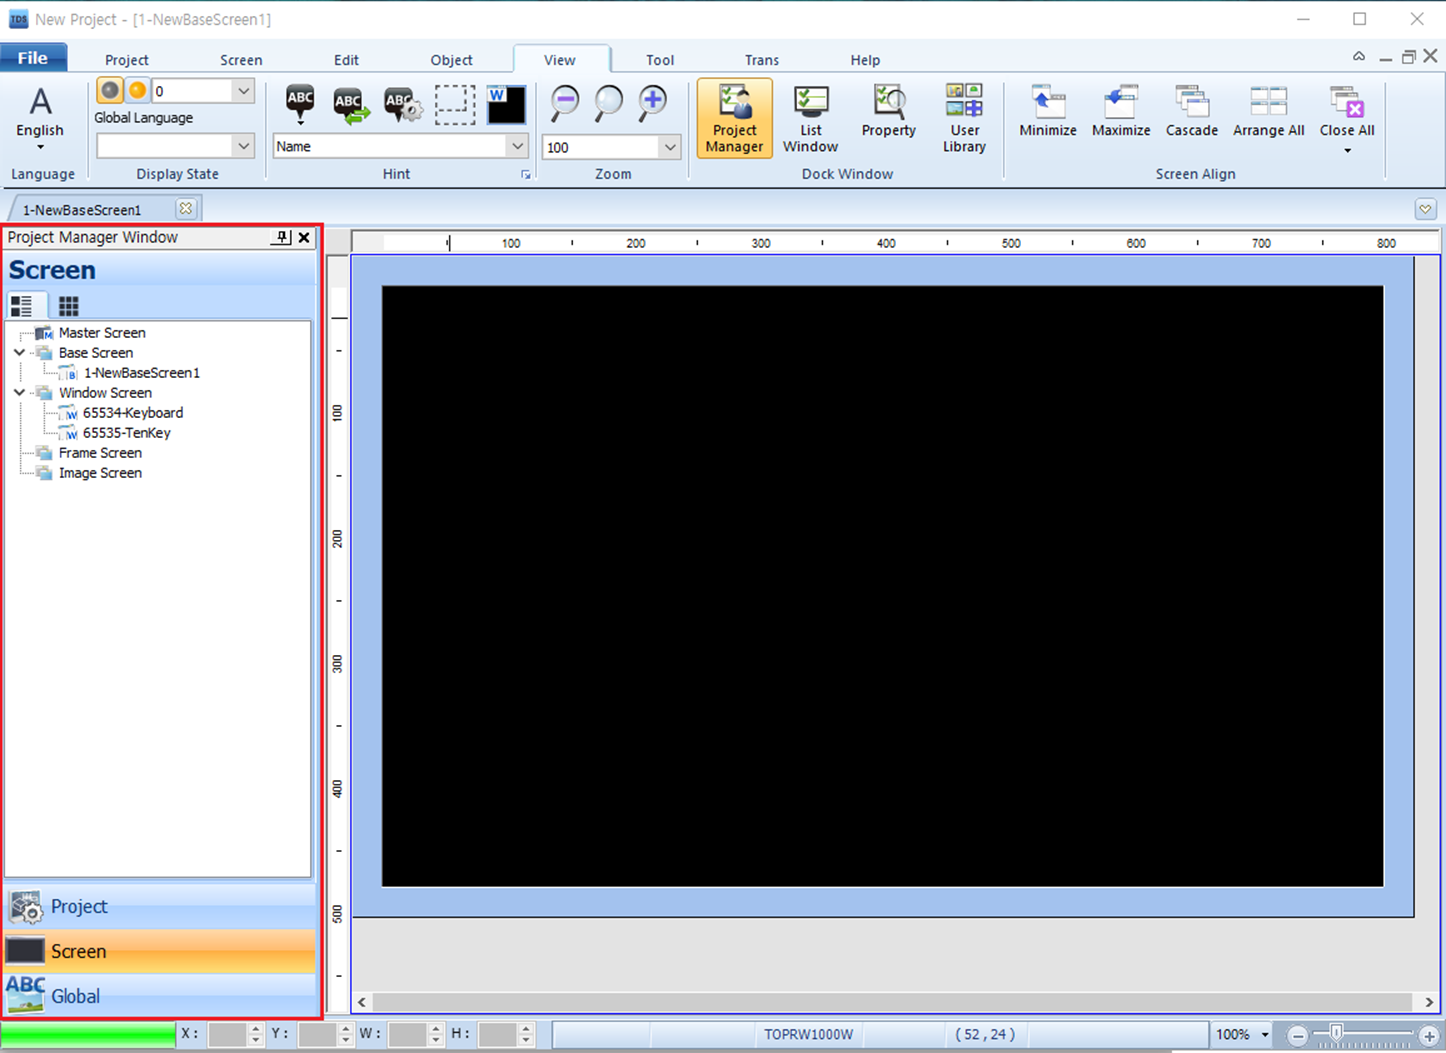
Once successfully docked, the window will be fixed on the left side, as shown in the image below.
* Using the [Pin] (Auto-Hide) Feature
After docking, the [Pin] icon appears in the top-right of the Project Manager window:
- Clicking the [Pin] will switch to auto-hide mode.
The window will collapse into a vertical tab on the left side.
- Click the vertical tab (e.g., Project Manager) when needed to temporarily expand the window.
- When you click outside the window, it will automatically hide again — this is called the Auto-Hide feature.
The window will collapse into a vertical tab on the left side.
- Click the vertical tab (e.g., Project Manager) when needed to temporarily expand the window.
- When you click outside the window, it will automatically hide again — this is called the Auto-Hide feature.
To pin the window back (keep it always visible), simply click the [Pin] icon again.